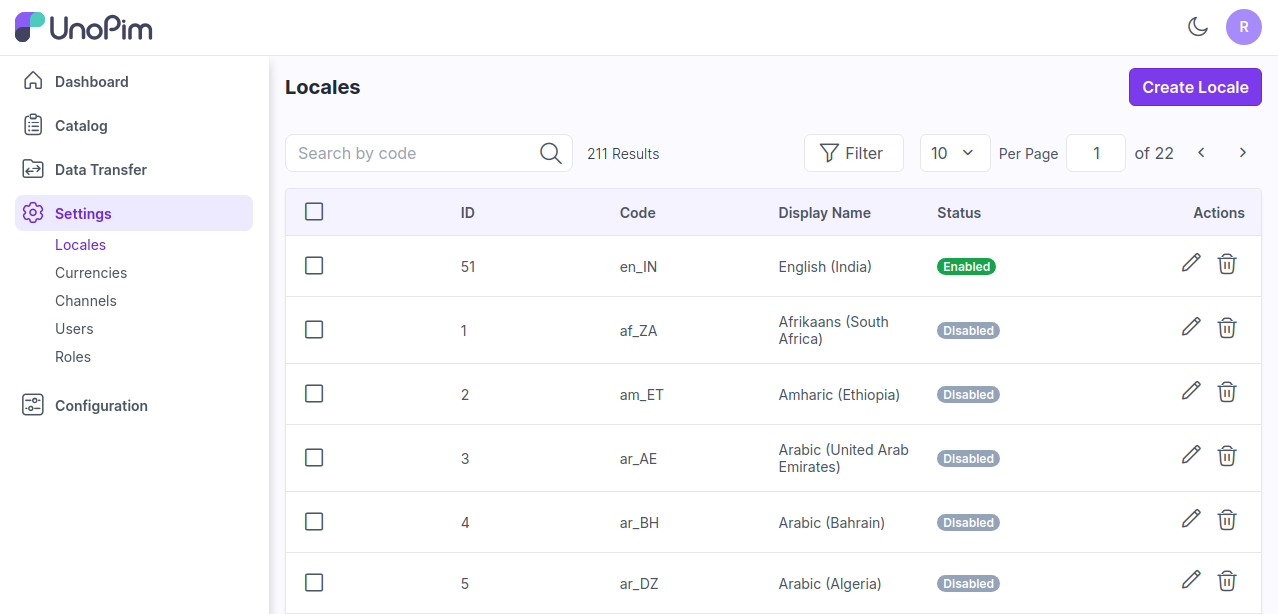
Locales
It refers to the regional or cultural settings that determine how product information is presented, including language, currency, date formats, and other locale-specific details.
Set Locales in UnoPim.
Here we have explained the steps to set Locales in UnoPim.
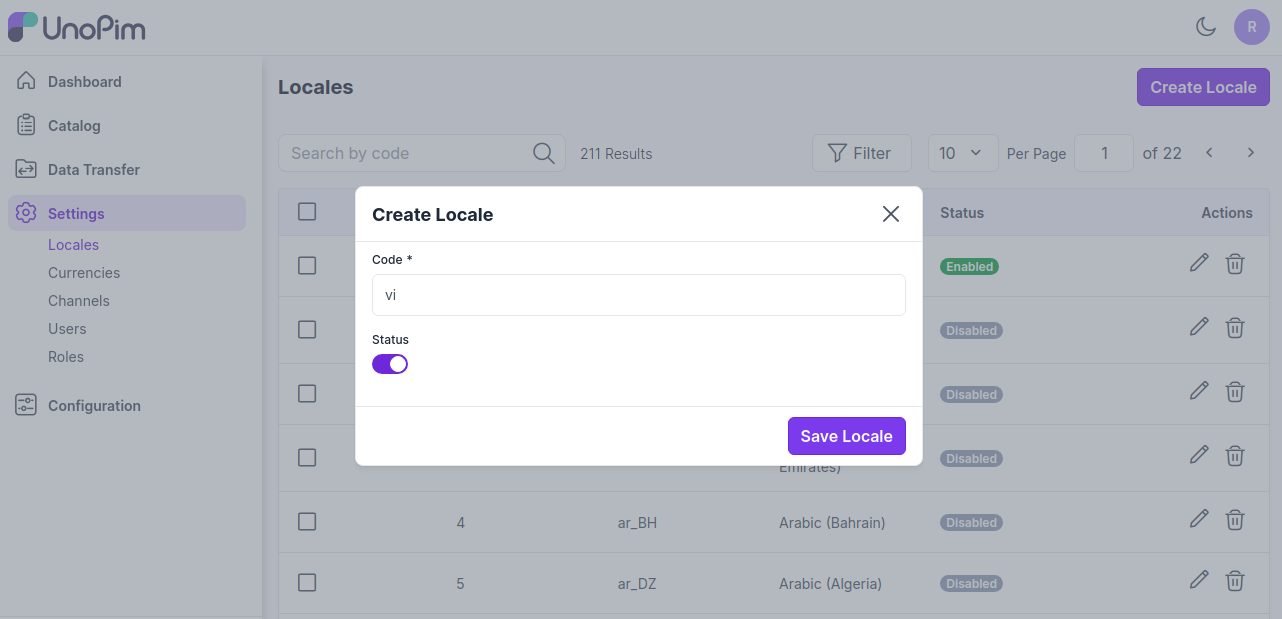
Step 1: On the Admin panel of UnoPim go to Settings >> Locales >> Create Locale as shown below.
Step 2: Now add the below fields
1.Code Every language has its unique code.
2.Status Enable the status of the locale.
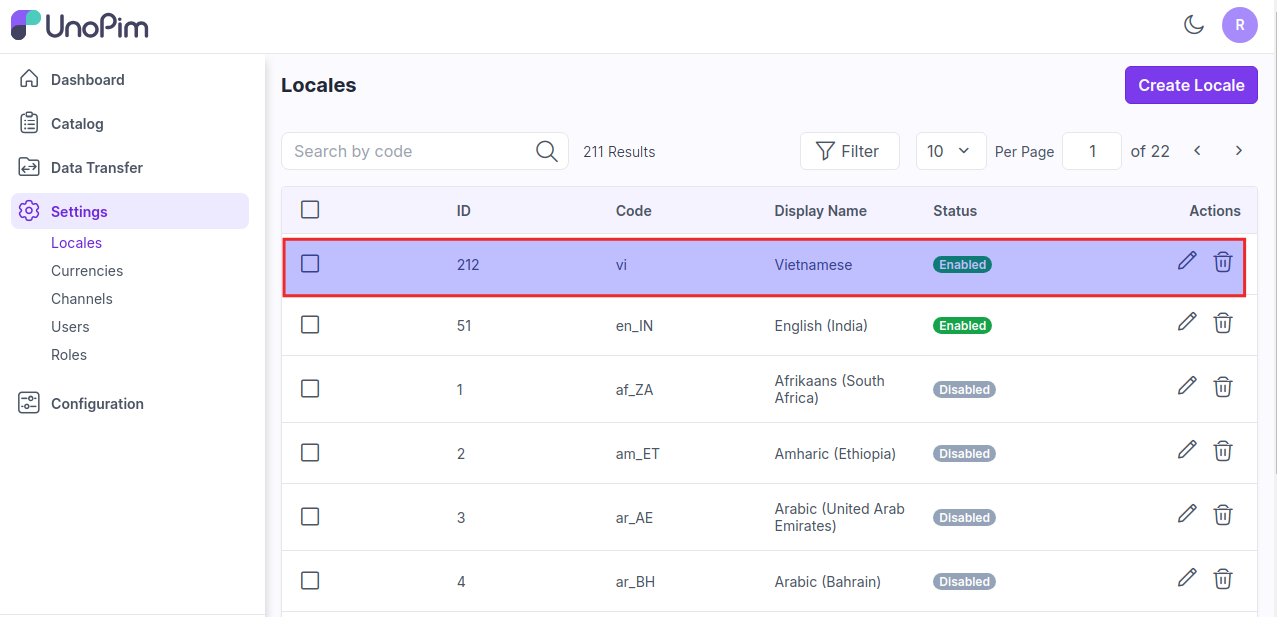
Step 3 Now a new locale is created successfully as shown in the below image.
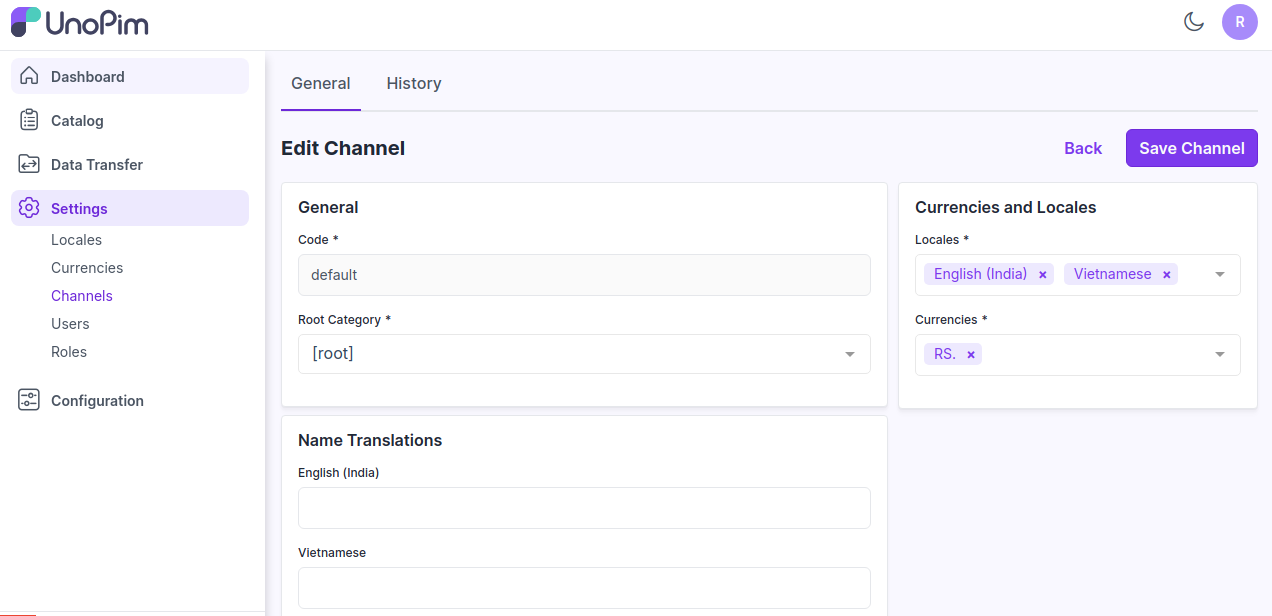
Step 4: On the admin panel open Settings >> Channels you will able to see your new language is visible in the Currencies and Locales section to enable this select your local and then click on Save Channel as shown in the below image.
So by this, you can easily create a Locales in UnoPim.
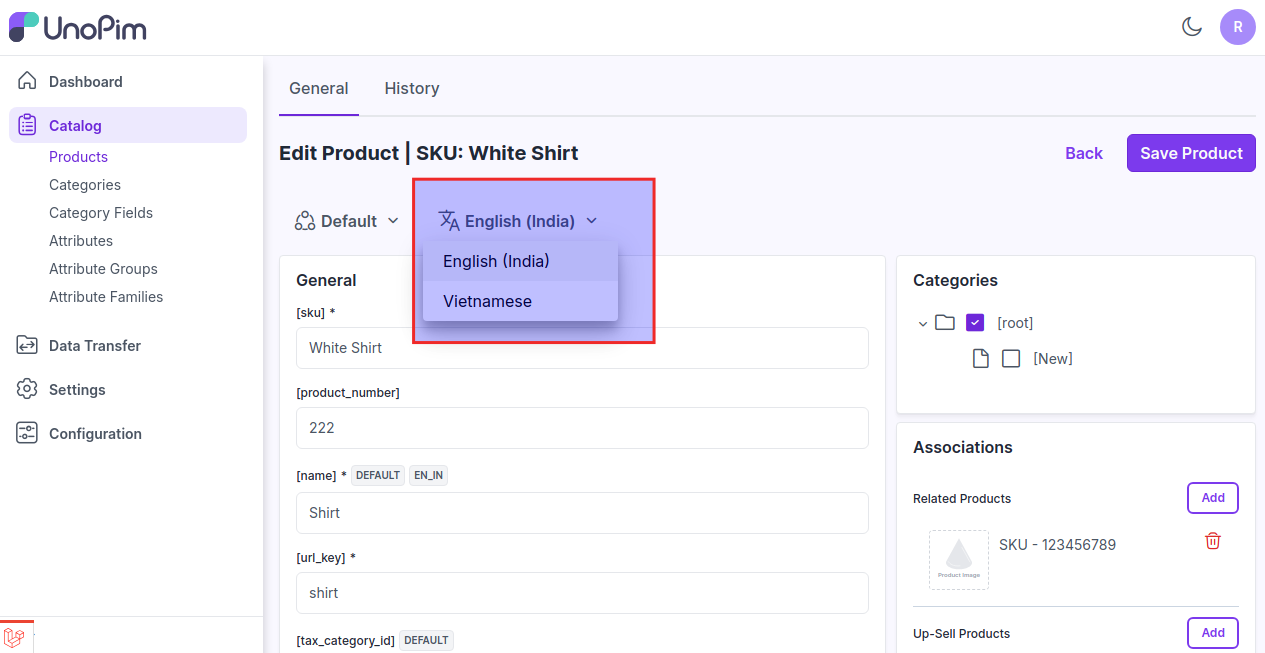
Step 5: Now this locale will be visible on the product edit page in the locale switcher.
After changing a locale, product values are now different for value per locale attributes