Roles
It refers to the specific functions or responsibilities assigned to users within the system, defining their access levels and tasks related to managing and maintaining product data.
Create Roles
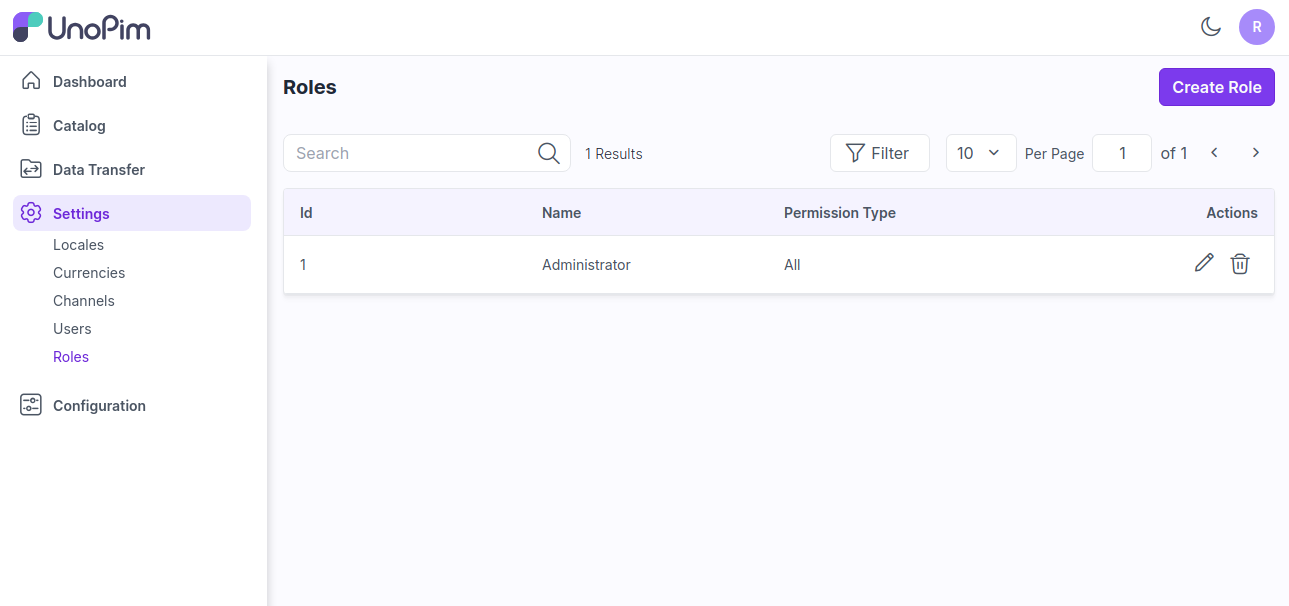
Step 1: It can be set on the admin panel by going to Setting >> Roles. Here you can create a new role by clicking on the button Create Role as shown in the below image.
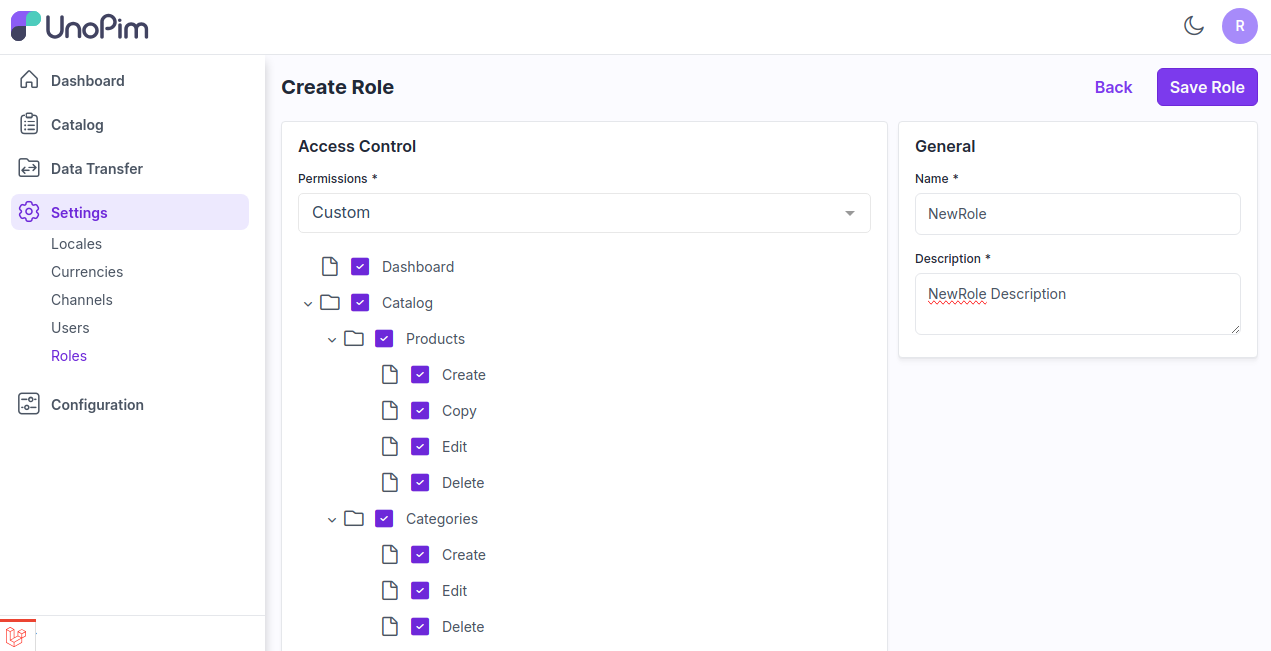
Step 2: Add the below fields.
1) Permissions: Select the permission from the options Custom & All.
Custom- Select the custom option if you need to show the menus as per your requirements for a user.
All- Select the all option if you need to show all the menus for a user.
Name: Enter the name of the role.
Description: Enter the description of the role.
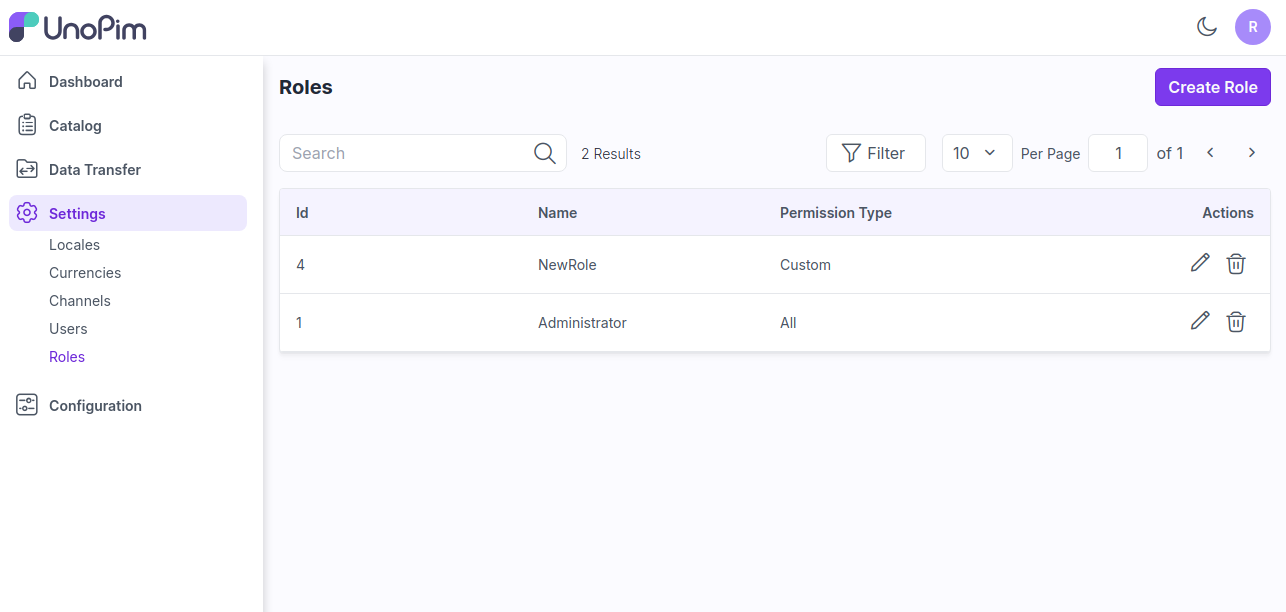
Step 3: Now click on Save Role and a new role is created successfully in the Roles data grid.
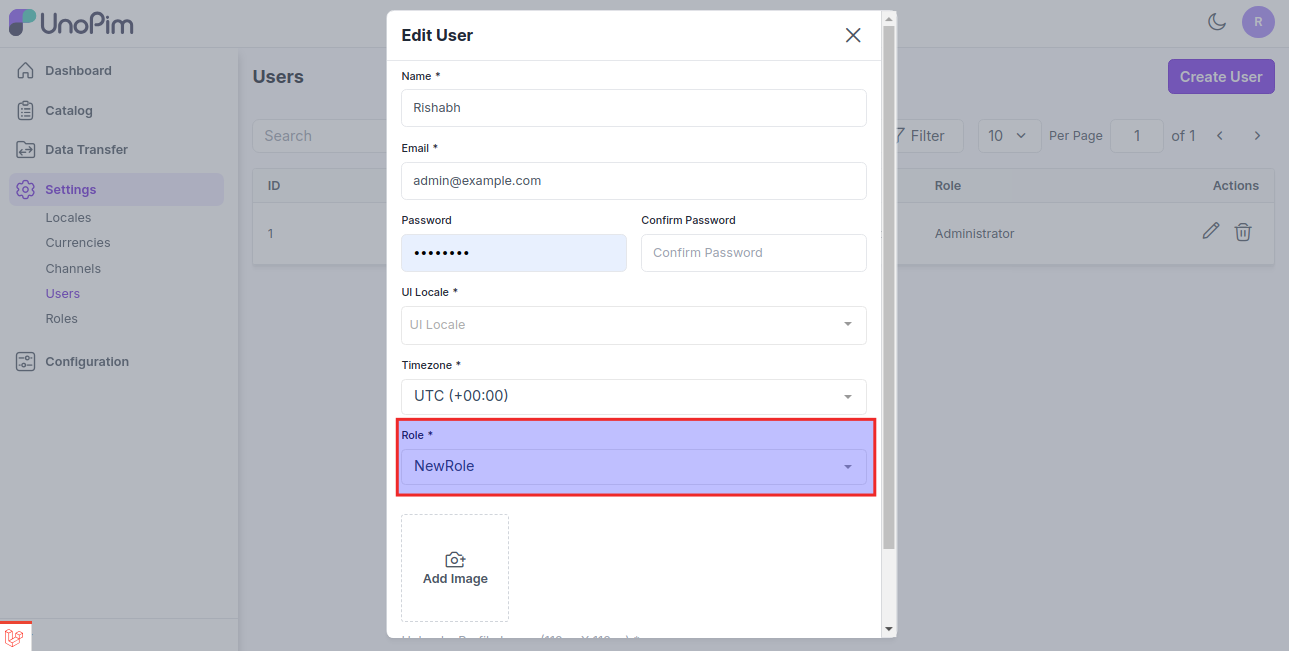
Step 4: Now you can assign this new role while creating a user go to Settings >> Users as shown in the image below.
Step 5: Now login with your new user and check the new user with the assigned custom permissions as shown in the image below.
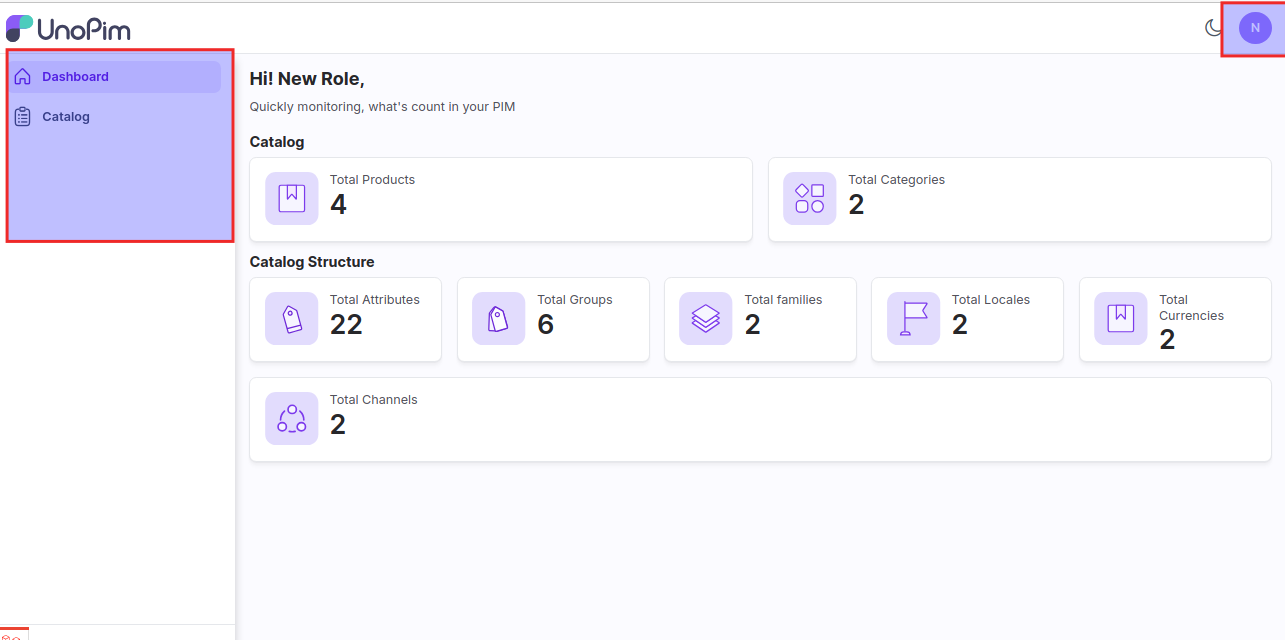
By this, you can easily create a Role in UnoPim